


























How To Remove A Radiator For Decorating

Removing A Radiator for Decorating
It's time to redecorate your home and update your paint or wallpaper, but there's radiators in the way. Don't ruin the effect of your new paint or wallpaper by leaving unsightly gaps when you can easily remove your radiators with our handy step by step guide below.

You will need:
- A radiator key/bleed key – the little tool that bleeds air out of radiators that will fit in the socket at the top of your radiator.
- Adjustable spanner.
- Towels & dust sheets.
- Large shallow bowl/paint tray for catching water.
- Bucket.
- Sponge.
Step 1 - Preparation
Ensure your heating is turned off. You will need your heating system to be cold and your radiator to be cold so you don't have to handle hot water. Summer is the perfect time to redecorate as you will not need your radiators on. If you are redecorating in Winter, consider using a portable space heater to warm the room whilst the decorating process occurs.
Create a safe place to store your radiator, in a different room so it will not be damaged or get paint on it whilst you decorate. Pad the storage area with towels and dust sheets so your radiator has a soft surface to rest on.
Clear the area. Remove any furniture or shelving above or near your radiator to ensure easy access whilst you decorate.
If you have a pressurised heating system, take a photo on your phone of the boiler pressure so you know where it needs to be when it comes to reinstalling your radiator.
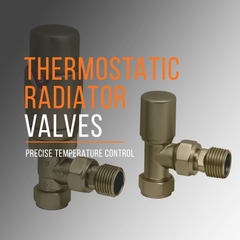
Turn your TRV to zero or off. TRVs (Thermostatic Replacement Valves) are set to open automatically at a certain temperature – if the temperature drops, the valve could open and cause a flood. If you have a decorator's cap for your valve, the little plastic cap that came with your TRV, you can remove the valve head and put the cap on. Turn clockwise to tighten – remember righty tighty lefty loosey!
Step 2 - >Removal
You will need to isolate the radiator. Ensure the TRV is set to zero. Locate the lock shield, the valve on the opposite side of the radiator to the TRV. Take the head of the valve off and locate the small spindle inside. Using your spanner, turn the lock-shield valve clockwise until it is closed. When turning, count the number of turns it takes and note down the number, this will help you get your radiator back to the same pressure when you reinstall it.
You will need your shallow bowl or paint tray next to drain the radiator. Place your bowl under the lock shield valve ready to catch the water. Using your spanner, find the big nut between the radiator and the valve and loosen. Hold the pipes firmly whilst you loosen the nut to avoid twisting the valve on the pipework.
Use your radiator bleed key to loosen the bleed valve at the top of the radiator and your radiator will begin to drain. When your bowl is nearly full, tighten the nut again to stop the flow of water so you can empty the bowl into your bucket and avoid spills. Replace the bowl and loosen the nut again to continue draining. Repeat this process until the radiator has drained.
Top Tip: Pad the floor around your radiator with extra towels to catch any spills and drips and avoid damaging your floor.
Step 3 - Lifting
Lift your radiator up and slightly away from the brackets, keeping it level to remove it from the wall. It is always best to do this step with two people to ensure your radiator is safely removed, they can be very heavy!
Slowly tilt the radiator toward the lock shield end to drain any remaining water from the radiator. The old water in a radiator can look dirty and discoloured so ensure you have plenty of towels down to catch any drips.
Top Tip: This is the perfect time to clean the front and back of your radiator! Take your sponge and some clean warm water with a mild soap (washing up liquid is fine) and give your radiator a good clean. Wipe dry with a clean towel.
Carry your radiator over to your safe storage place and rest gently on the ground. Never rest the weight of the radiator on the valve connections as this may damage them.
Step 4 - Decorating
Remove the brackets and screws from the wall so you can decorate. Make sure you keep all bits together as you will need every screw to reinstall your radiator. A great idea is to tape the screws to the brackets with plumber's tape to keep everything together.
It is a good idea to mark out on the wall where your brackets need to be – take measurements whilst they are still on, so you can add them back on over your new paint or wallpaper later.
Now you can paint or hang your wallpaper!
Follow the manufacturer's instructions for drying times for wallpaper and paint, ensure you leave at least 24 hours for paint to dry.
Step 5 - Re-Hanging
To re-hang your radiator, you will need to reverse the steps you took to remove it.
- First, replace the brackets on the wall in the spots you have marked out.
- Next, re-hang your radiator on its brackets, ensuring it is secure.
- Re-connect the valves and pipework to the radiator, tightening the nuts to connect the valves.
- Close the bleed valve. Restore the TRV to its original position.
- Turn the lock shield valve to the left to open it and fill the radiator. Make sure you turn it the same number of times you tightened it with to set it to the correct pressure.
- Open the bleed valve to release trapped air.
- Re-pressurising your boiler.
- If you have a pressurised boiler you will need to re-pressurise it. Find the filling loop underneath your boiler, the flexible hose with a valve at each end.
- Open the valve heads slightly using a screwdriver to let in cold water from the mains to fill up the system. When the pressure is the same as the original pressure, close the valves.
- If you have an open-vented heating system, water will automatically come back into your radiator when you open the radiator valves.
Job done! Your home will be beautifully decorated and your radiator back in its place, ready to warm your home.
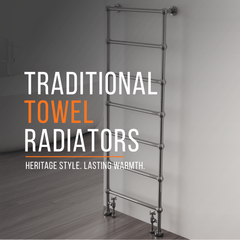
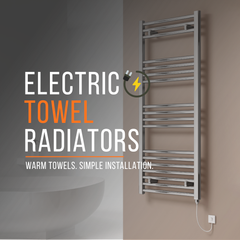
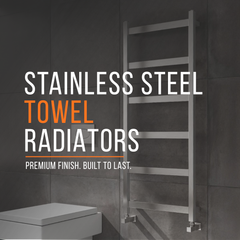
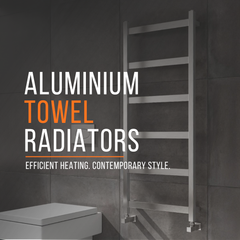
If you do not want to keep your old radiators and think it is time for an update, replacing them during the decorating process is a really smart thing to do!
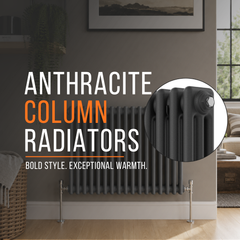
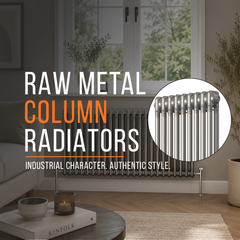
We have hundreds of designer radiators that could complete the look of your freshly decorated room, browse them here.
If you need a hand choosing a new radiator or towel rail, our expert sales team are available Monday – Friday 9-5pm and Saturday 9-2pm to answer any questions or queries.
Call 01257 452 879 for expert advice.


